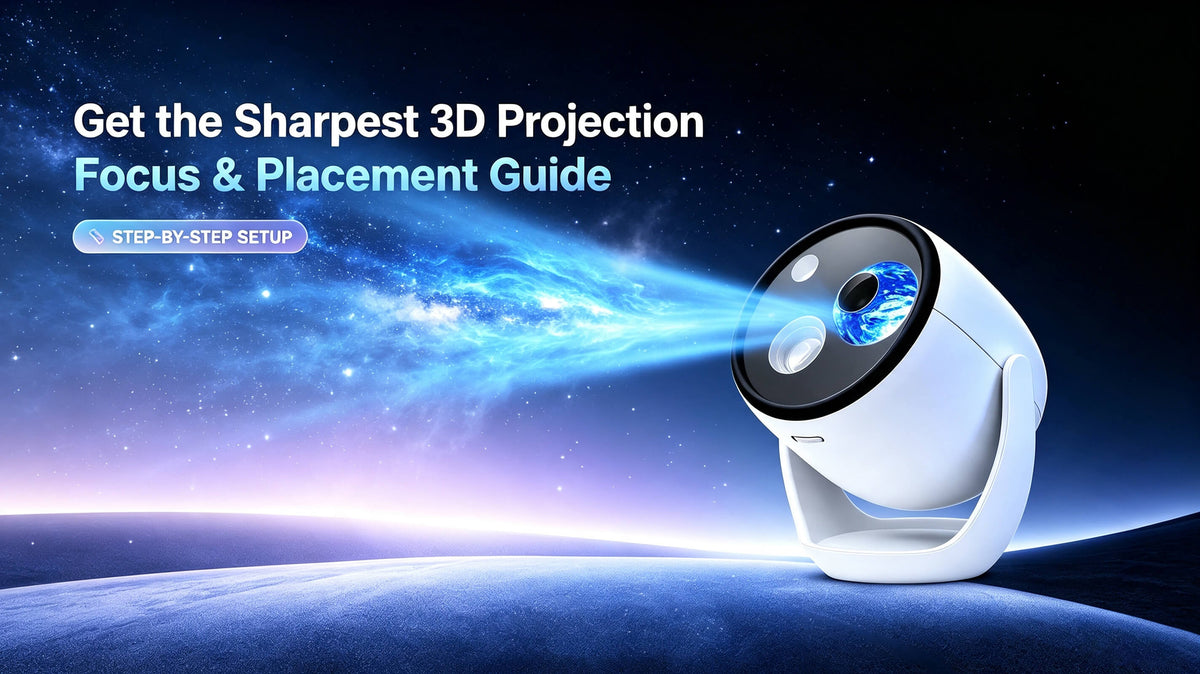
How to Get the Sharpest 3D Projection – Focus & Placement Guide
— A step-by-step guide to crystal-clear 3D visuals on your ceiling.
You've unboxed your 3D holographic star projector. You've plugged it in. You've pointed it at the ceiling.
But the image looks... blurry. Or dim. Or not quite right.
Don't worry — you're not alone. Getting the sharpest image from any projector comes down to two things: focus adjustment and placement. And once you get them right, the 3D effect is breathtaking.
Let's walk through exactly how to do it.

📸 The Projection Focus Adjustment Wheel — your key to crystal-clear 3D
🎯 Step 1: Adjust the Focus Wheel
The Twelvetooo 3D01 comes with a Projection Focus Adjustment Wheel on the unit (see user manual, Section: Product Usage Diagram). This is your primary tool for getting a sharp image.
How to do it:
- Turn on the projector and point it at your ceiling or wall
- Locate the focus wheel on the side or back of the unit
- Slowly rotate the wheel left and right while watching the projection
- Stop when the image looks crisp and clear
Pro tip: Project a scene with fine details — like a starfield or a forest — while adjusting. It's much easier to see the focus change with detailed images.
📍 Step 2: Find the Perfect Placement
Even with perfect focus, the wrong placement can ruin your projection. Here's what works best:
Optimal distance: Place the projector 3-5 meters (10-16 ft) from the projection surface (see product specifications). Too close and the image will be small and intense; too far and it will spread out and lose sharpness.
Coverage area: The 3D01 covers 15-50 square meters (161-538 sq ft) — enough for most bedrooms and living rooms (see product specifications).
Surface height: Place the projector on a flat, stable surface about 0.5 to 1.5 meters (1.6-5 ft) from the ceiling or wall you want to light up.
Surface color: Light-colored, flat surfaces (white walls or ceilings) work best. Dark surfaces absorb light and make the image look dim.
Room lighting: Turn off ambient lights for the best results. The 3D01 performs well in low-light conditions, but complete darkness gives you the most immersive experience.

📸 Optimal placement: 0.5 to 1.5 meters (1.6-5 ft) from the ceiling
🔍 Step 3: Troubleshooting Common Issues
Still not getting the sharpest image? Here are the most common fixes:
❌ "The image looks blurry no matter what I do."
✅ Check if the lens is clean. Dust or smudges can cause blurriness. Use a soft, dry microfiber cloth to gently wipe the lens.
❌ "The image looks dim or washed out."
✅ Make sure you're projecting onto a light-colored surface. Dark walls absorb light. Also check that the room is dark enough — ambient light competes with the projection.
❌ "The image is distorted around the edges."
✅ The projector should be placed in the center of the room, pointing directly up at the ceiling. If placed at an extreme angle, the projected image will be distorted around the edges.
❌ "The stars look like streaks instead of dots."
✅ The rotation speed might be too fast. Use the remote to slow down the rotation speed for a clearer, more defined starfield.
💡 Bonus Tips for the Best Experience
- Start with the slowest rotation speed for sleep or relaxation — it's more calming and the image stays clearer
- Use the timer function (1H/2H/4H/6H/8H) so the projector turns off after you fall asleep — this also extends the lifespan of the device (see product specifications)
- Avoid running the rotation for more than 8 hours continuously to prevent motor overheating
- For textured ceilings, try placing the projector closer to the ceiling to reduce shadows and improve sharpness
🎯 The Bottom Line
Getting the sharpest image from your 3D holographic star projector doesn't have to be complicated.
Adjust the Projection Focus Adjustment Wheel. Place it 3-5 meters (10-16 ft) from the surface, on a flat surface 0.5 to 1.5 meters (1.6-5 ft) from the ceiling. Use a light-colored surface and dim the lights.
That's it. In under five minutes, you'll go from blurry to breathtaking.
With 90+ 4K 3D scenes and crystal-clear projection, the Twelvetooo 3D01 is ready to transform your space — once you've dialed in the perfect setup.
✨ Ready to see the 3D universe in crystal clarity?
🔗 Explore Twelvetooo 3D01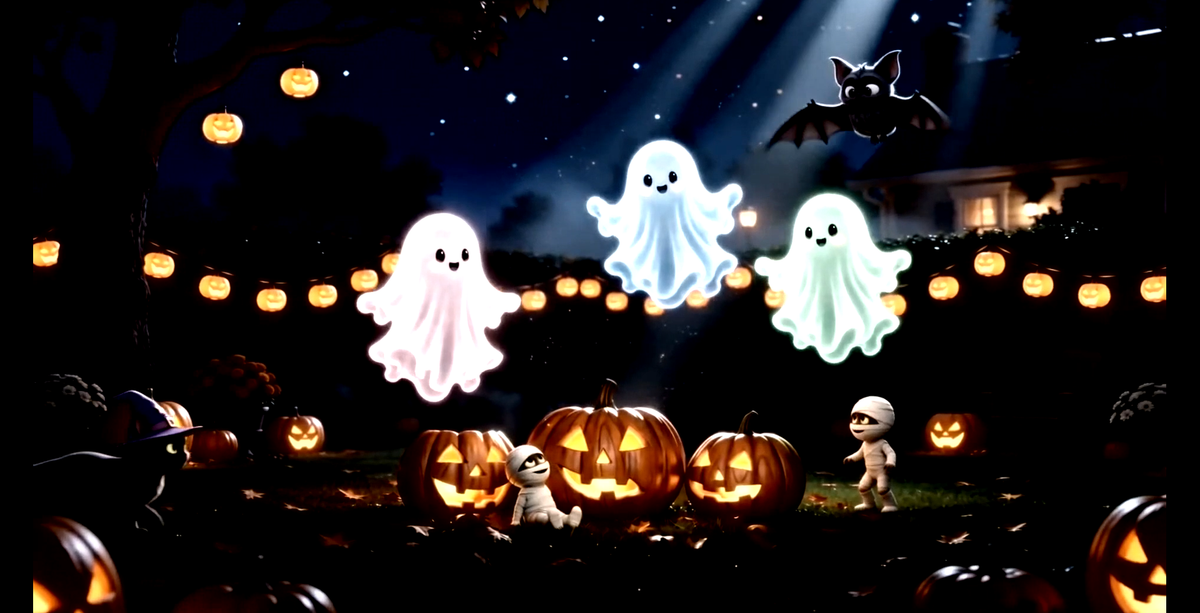


Share:
E26 vs E27 Bulb Base Guide | Twelvetooo Smart Projection Bulb
How to Clean and Maintain Your 3D Holographic Projector